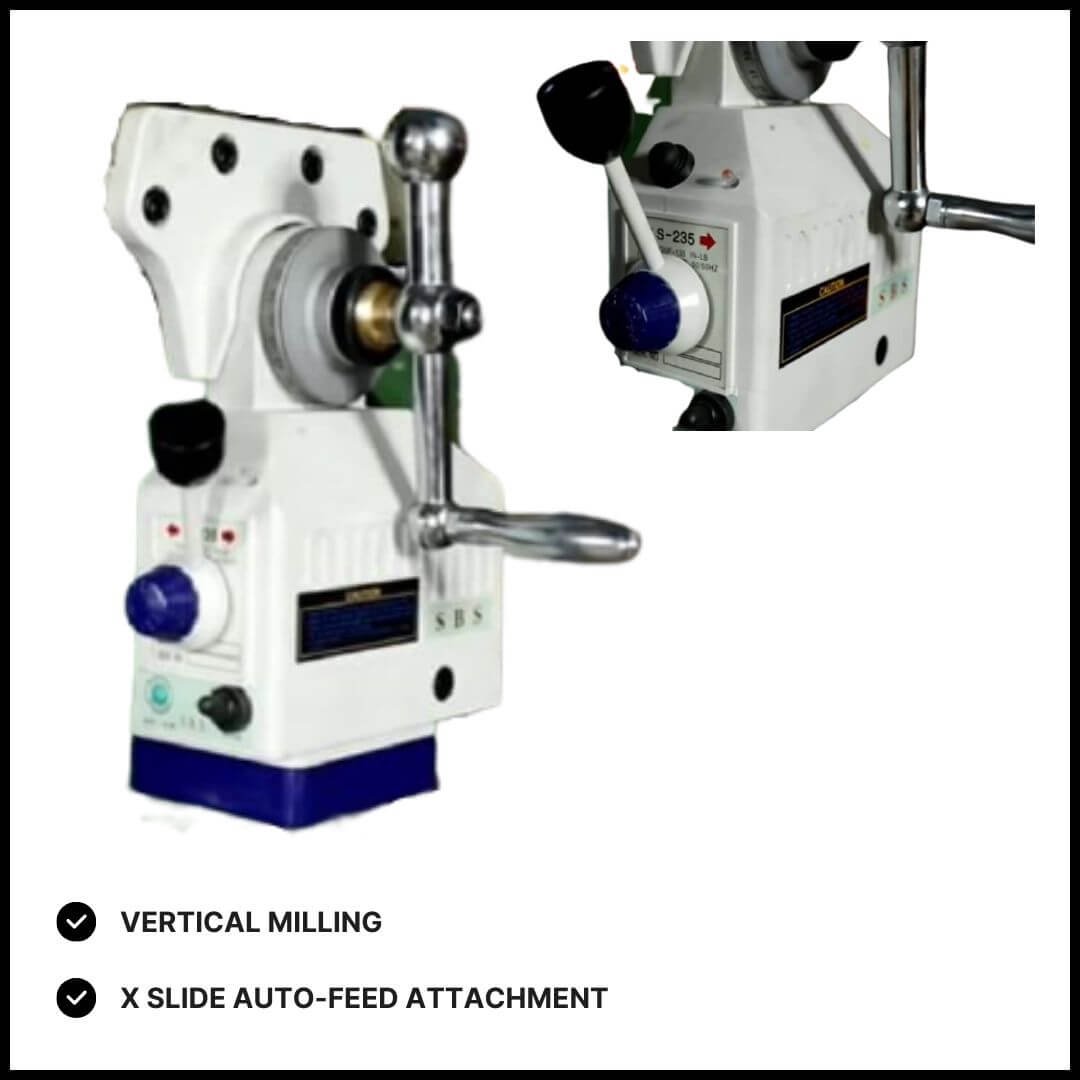
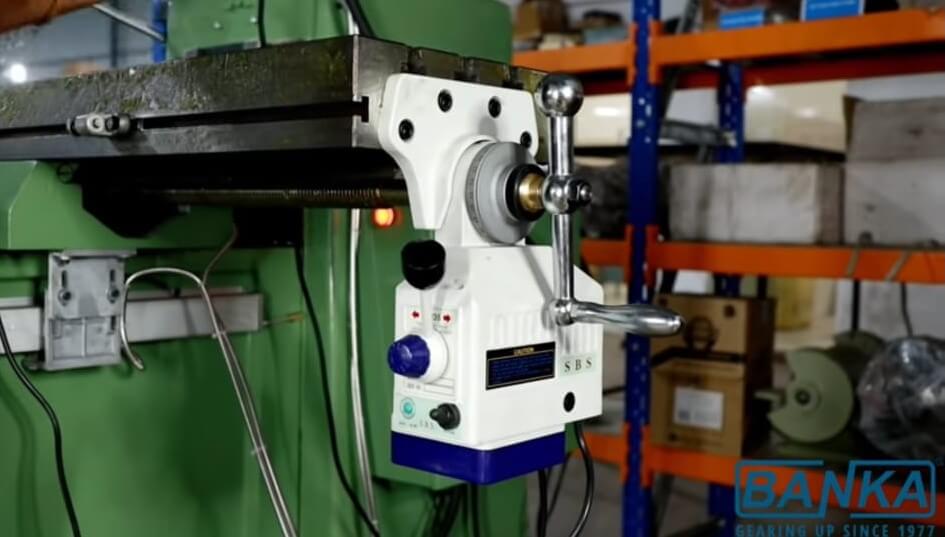
Using an auto-feed attachment on a vertical milling machine can significantly improve efficiency and precision. Here’s a general guide on how to use and set up an X-slide auto-feed attachment:
1. Understand the Components
- Auto-Feed Mechanism: Typically consists of a motor and gearbox that drive a lead screw or ball screw to move the X-axis table.
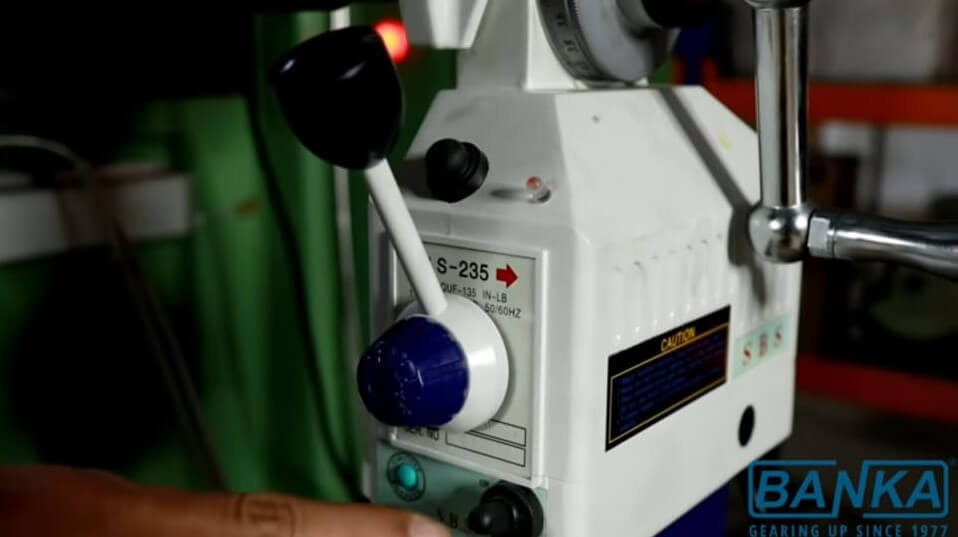
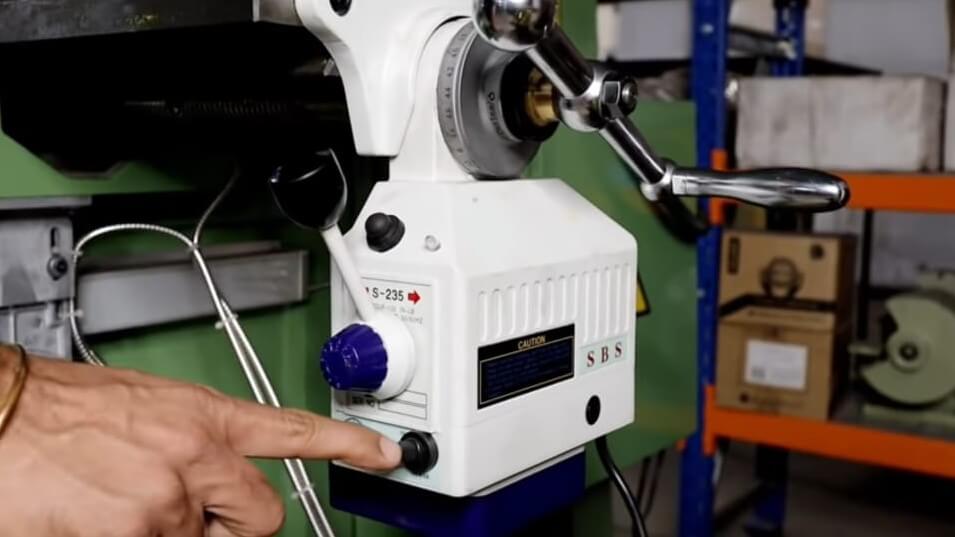
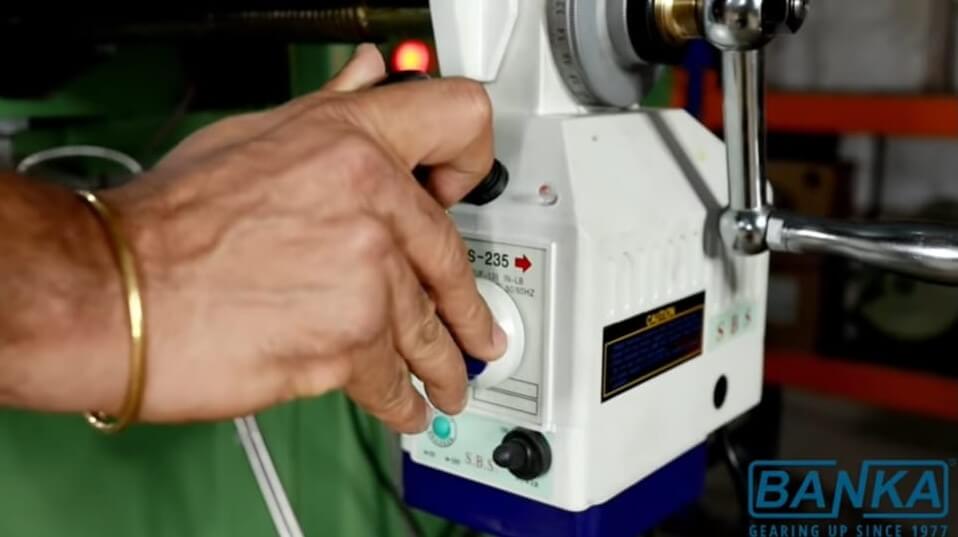
- Control Unit: Allows you to set the feed rate, direction, and other parameters.
- Lead Screw/Ball Screw: Translates the rotational motion from the motor into linear movement of the table.
- Drive Belt or Gear: Connects the motor to the lead screw.
2. Installation
- Mount the Auto-Feed Unit:
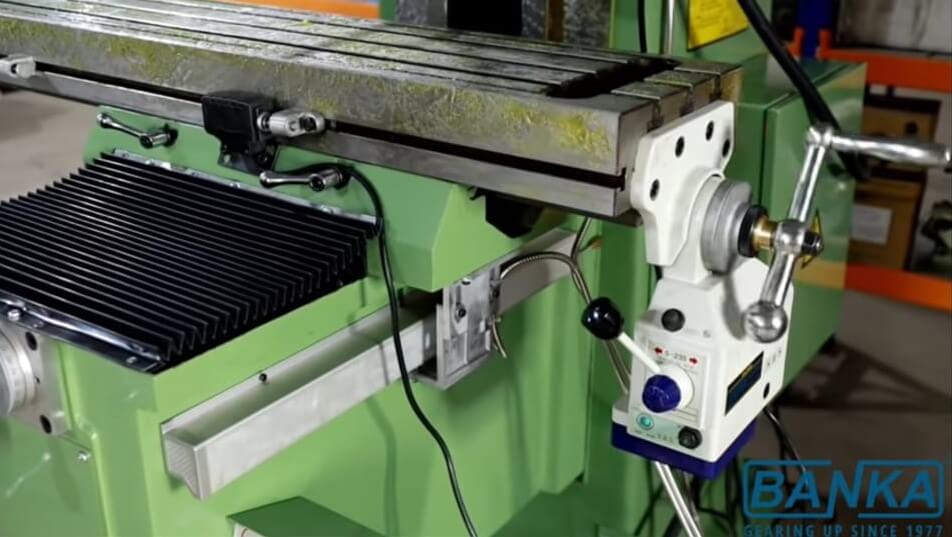
- Securely attach the auto-feed unit to the X-axis of your milling machine. This usually involves aligning it with the existing lead screw or ball screw and fastening it with provided brackets or clamps.
- Connect the Motor:
- Attach the motor to the lead screw or ball screw using the drive belt or gear. Ensure that everything is properly aligned to prevent misalignment or excessive wear.
- Wiring and Power:
- Connect the motor to the power supply and control unit. Follow the manufacturer’s wiring diagram to ensure correct connections.
- Calibration:
- Adjust the auto-feed unit to ensure that it moves the table accurately. This may involve setting the zero point or adjusting the feed rate.
3. Operation
- Setting the Feed Rate:
- Use the control unit to set the desired feed rate. This will determine how quickly the table moves along the X-axis.
- Direction Control:
- Select the direction in which you want the table to move. Most control units will have options for forward and reverse.
- Starting the Feed:
- Engage the auto-feed mechanism by activating the control unit. Monitor the movement to ensure that everything is operating smoothly.
- Monitoring and Adjustments:
- Keep an eye on the process to make sure there are no issues like excessive noise or vibrations. Adjust the feed rate or direction as needed based on the machining requirements.
Related Products
Sale

Best Seller

