Accessories for Milling machines, Machine Shop Accessories, Tools & Instruments
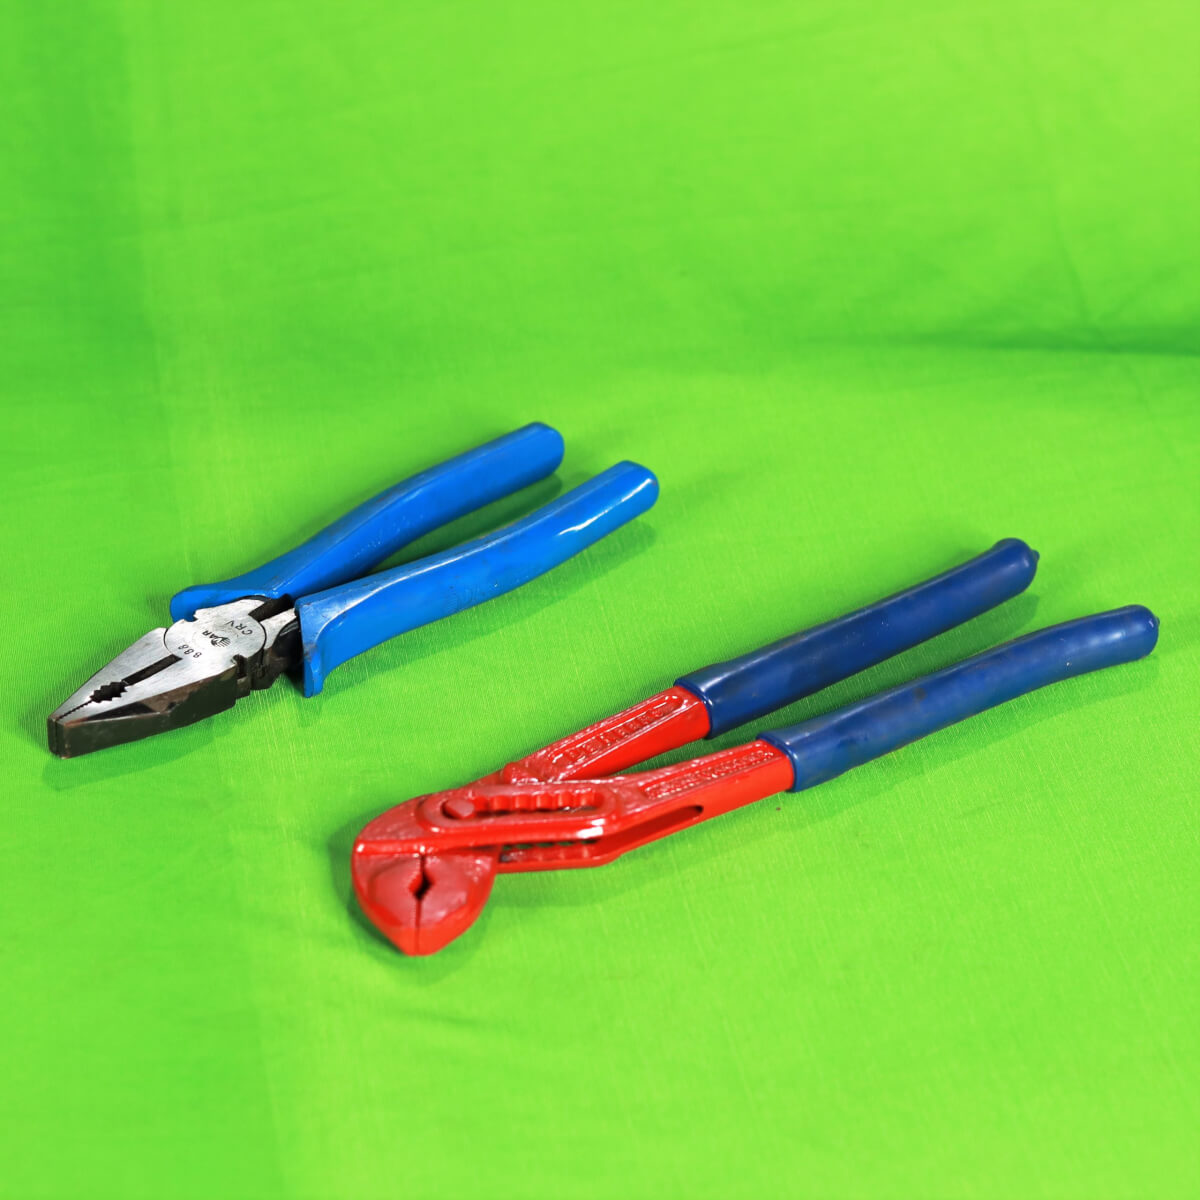
Curved Jaw Locking Plier
Tag: Popular Tools
₹699
Curved jaw puts tremendous pressure on four points of any style nut or bolt head, making it perfect for any application that requires maximum torque. Constructed of high-grade heat-treated alloy steel for maximum toughness and durability. Hardened teeth are designed to grip from any angle.
Weight: 0.55 Kg
- Self-energizing lower jaw provides 3X more gripping power than traditional locking pliers, with no slipping or stripping.
- Provides maximum torque without requiring heavy input pressure – jaw mechanism naturally grips tighter as more torque is applied to the tool.
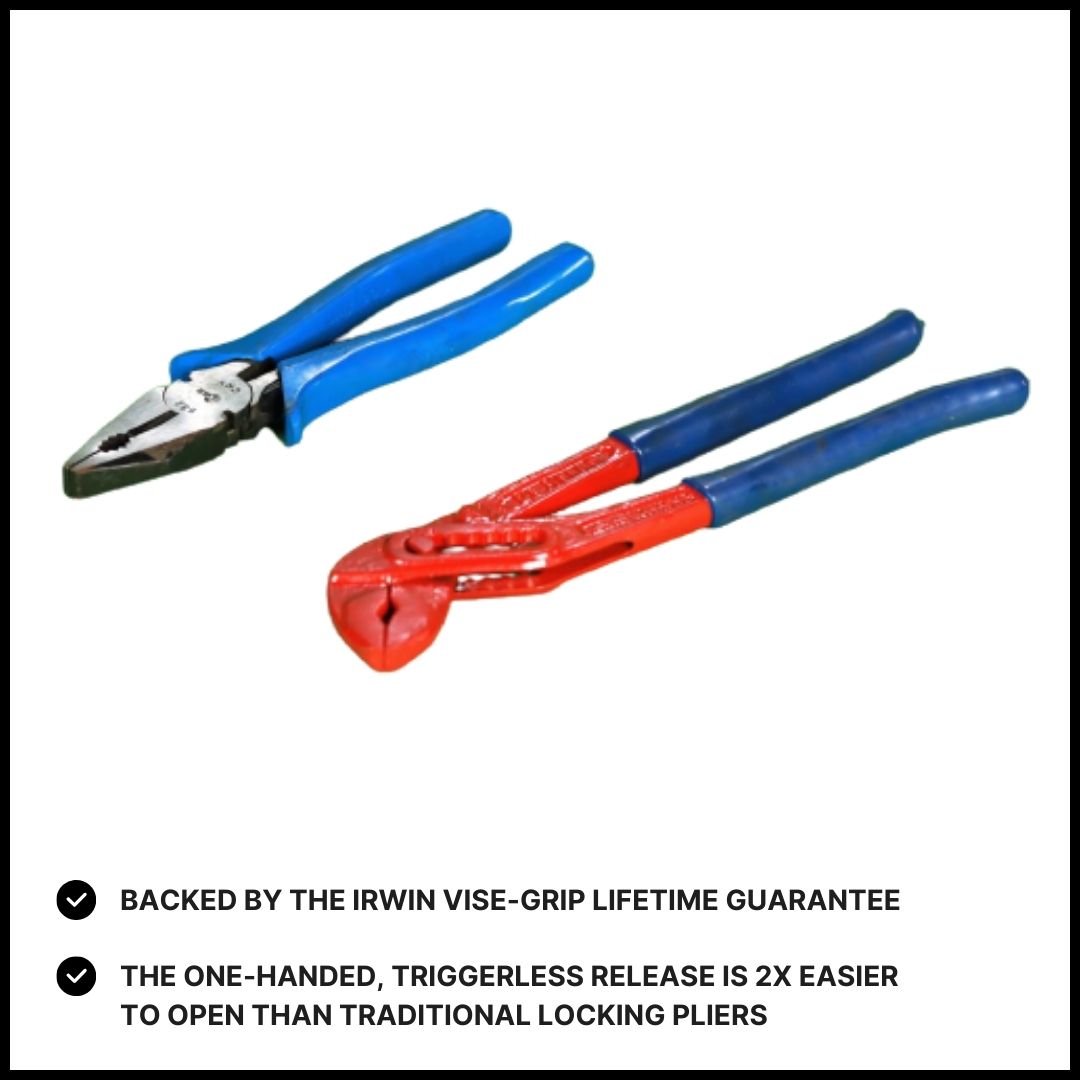
- One-handed, triggerless release is 2X easier to open than traditional locking pliers.
- Anti-pinch, non-slip ProTouch™ Grips provide comfort, control, and less hand fatigue.
- Curved jaw puts tremendous pressure on four points of any style nut or bolt head, making it perfect for any application that requires maximum torque.
- Constructed of high-grade heat-treated alloy steel for maximum toughness and durability.
- Hardened teeth are designed to grip from any angle.
- Hex key adjusting screw tightens to adjust pressure and draw materials together and provides a controlled release.
- Backed by the IRWIN VISE-GRIP Lifetime Guarantee.
- Curved jaw locking pliers, often known as “C-clamps” or “Vise-Grips” (a popular brand name), are a versatile tool used for gripping, clamping, and holding various objects in place. Here’s a guide on how to use them effectively:
How to Use Curved Jaw Locking Pliers
- Adjust the Jaw Size:
- Use the adjustment screw (usually located at the base of the handle) to set the jaw size to fit the object you intend to grip. Turn the screw to widen or narrow the jaws as needed.
- Open the Pliers:
- Squeeze the handles together to open the jaws. Position the pliers around the object you need to clamp.
- Position the Pliers:
- Place the curved jaws around the object. The curved design helps provide a secure grip, especially on cylindrical or irregularly shaped objects.
- Lock the Pliers:
- Release the handles slowly to allow the jaws to tighten around the object. Once the desired grip is achieved, engage the locking mechanism by pressing the handles together until they lock into place. This ensures the jaws stay firmly in position.
- Adjust the Lock:
- If necessary, you can adjust the clamping pressure by turning the adjustment screw. This is particularly useful for achieving a precise grip or for different materials.
- To Release the Pliers:
- Press the release lever (often located near the base of the handles) to disengage the lock. This will open the jaws and allow you to remove the pliers from the object.
- Adjust the Jaw Size:

